Deploying a Python Dash App Using the Azure App Service
Naturally, once you've coded a web app, the clear next step is to actually put it on the web. This was my thinking as well after I got MAVis up and running locally. Personally, I've been trying to get some more experience with Azure as the organization I work at works almost exclusively within the Microsoft ecosystem. Unfortunately, when I looked around to find documentation on deploying an app built on the Dash framework, as MAVis was, I was left wanting. There's no question that there is a lot of great Microsoft documentation around, but most of this documentation aimed at Python developers only focuses on apps that are built on Flask or Django.
Luckily, I was able to get it up and running. In the end, the path from code to deployment is not all that difficult and requires only a few short steps. In this article, I'm going to walk through the most straightforward path, and hopefully this will be enough to get your app into the cloud.
I'm going to assume, for the purposes of this article, that you already have a Dash app that you're happy with, as well as an Azure subscription available to you. If not, there are a vast amount of resources freely available that will help you with both of these items better than I ever could. The first thing to note is that while Azure only officially documents its support for Flask and Django apps, Dash is actually an extension of Flask. In fact, what you might not know is while Dash provides you with an app object, when that app's run_server method is executed, it is secretly spinning up a Flask server. You can check this yourself by looking at the app's .server property.
This really is the whole secret to getting the Dash app running on Azure. Let's run through the steps to see what to do with this.
Step 1: Install the Azure CLI
Everything can also be done through the GUI in the Azure portal. However it is so simple to get your first app deployed with the CLI that I recommend starting here. If you don't already have the Azure CLI installed, you can find instructions on doing so here. Once you have it installed, open up your favourite command shell to access it. I'm working on a Windows system, so I'll be working with PowerShell.
Step 2: Create and activate a virtual environment
To keep your app's dependencies separate, we're going to create a virtual environment. First things first, we need to navigate to the place where the app's source code is stored. Next we'll create the virtual environment. Run the two commands below to achieve this.
cd path/to/your/app/code
python -m venv venv
After that we need to activate our virtual environment. On Windows that looks like this:
venv/Scripts/activate
and macOS and Linux it looks like this:
source venv/Scripts/activate
Step 3: Install all required packages
Next up we need to make sure all the packages our app uses are installed in the virtual environment. At a minimum this will of course include the dash package, but we also need to install a package called gunicorn. Gunicorn, or Green Unicorn, is a pure-Python Web Server Gateway Interface (WSGI) HTTP server. It's going to help us tell Azure how to deploy our app. We can run the following line inside of our virtual environment to install these packages.
pip install dash gunicorn
Repeat the above for any other packages your app requires. Alternatively, if you have a requirements.txt file, you can run the following to install all packages at once.
pip install -r requirements.txt
Step 3b: Test your app locally
Testing your app locally at this stage will likely prevent some hair-pulling later. Test your app locally by running the following line within your virtual environment, and navigating to the location your app is running. If you haven't changed the settings yourself, that location is most likey http://127.0.0.1:8050, but your mileage may vary.
python your_app_file_name.py
If your virtual environment is missing a required package, this step should let you know. This is your chance to make any required fixes. Repeat this step until everything is working as expected locally, before we move things into Azure.
Step 4: Deploy to Azure Web App Service
First we need to log in to Azure. Running the following command should open a tab in your web browser to allow you to log into your Azure account.
az login
At this point we need to stop and make one small change to the app itself. In order to locally deploy a Dash app, we will have needed to expose an app variable somewhere. For the sake of argument, we'll assume this variable is called your_app. As previously mentioned, Azure is looking for a Flask server in order to deploy your app, and the server attribute of your app object contains such a server. In order to deploy to Azure, we need to expose an explicit server variable somewhere, although you can name it whatever you like. That will look something like this:
With this taken care of, we can move on to deploying the app. This can be done with the following command.
az webapp up --sku F1 --name your-app-name --location preferred-location
This will deploy the app to an app service, creating a resource group for it, and assigning it the F1 price tier. You can choose a higher price tier such as B1, B2, and so on, depending on your performance needs. The location will be one of the standard options available in Azure, with the spaces removed, for example EastUS or CanadaEast. If this operation is successful, the app will be accessible at the url your-app-name.azurewebsites.net. Note that whatever you choose for your app name has to be unique across all apps on azure, so make sure you choose something unique.
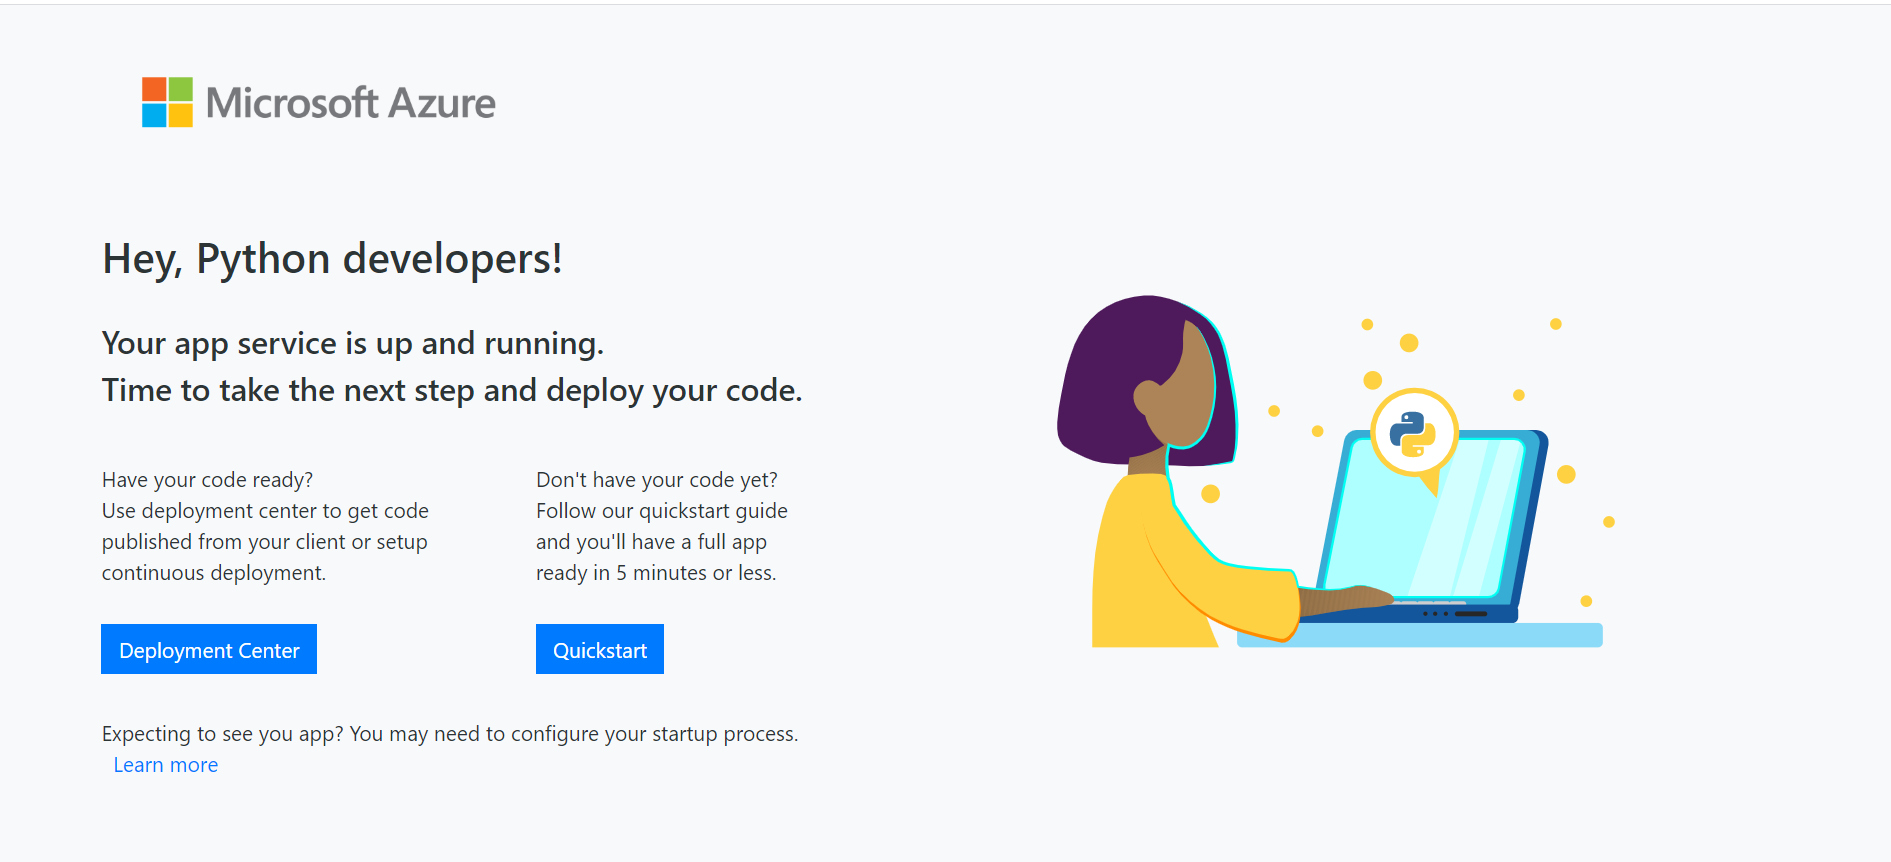
The work isn't quite over yet. If you navigate to your app now, you will likely be greeted by this screen.

Don't worry, this is expected behaviour at this stage. This is because Azure doesn't know where to look to find your app. In order to tell Azure where to look, we need to enlist the help of gunicorn. We're going to add a startup command to the app by running the following command:
az webapp config set --startup-file "gunicorn your_app_file_name:server"
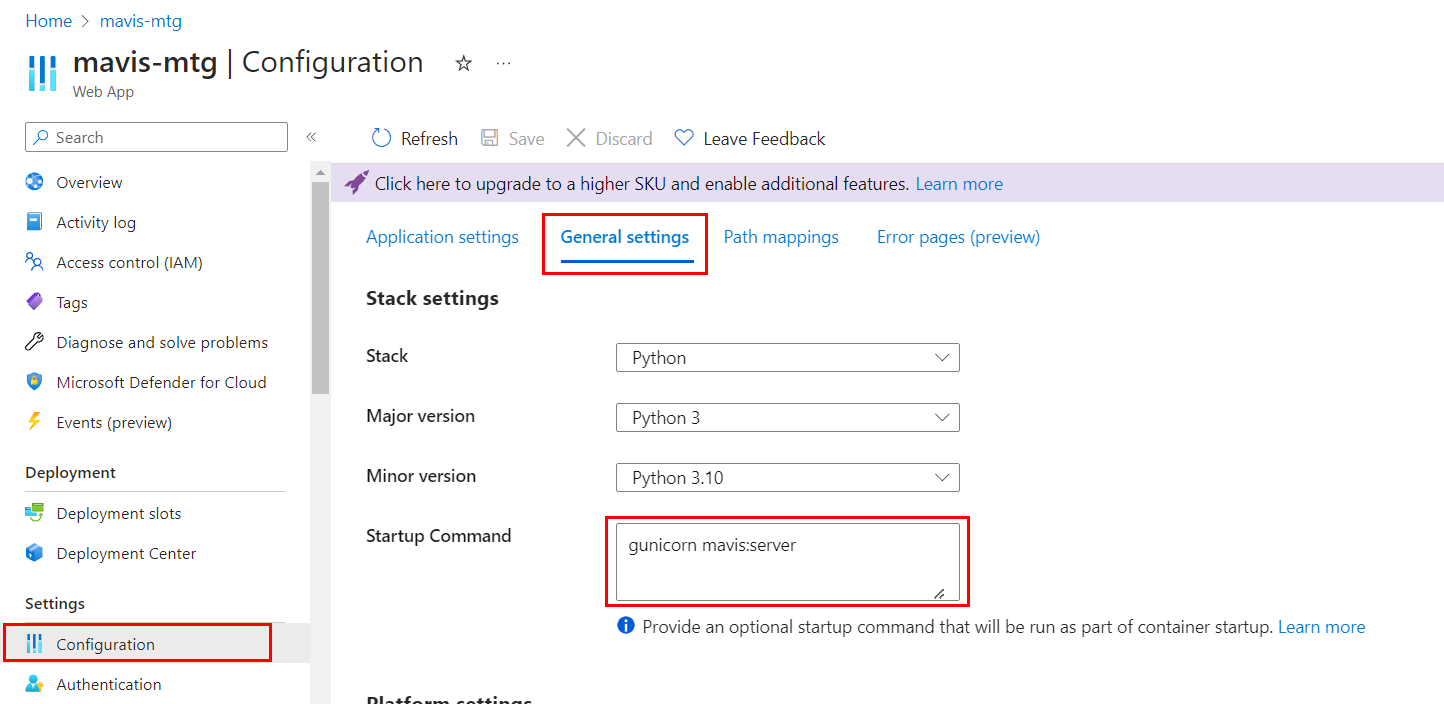
Of course, you'll want to replace your_app_file_name with the name of the file where your server variable is exposed, and server with whatever you named that variable. If you're so inclined, you can head to the Azure portal, navigate to the App Service that was just created, go to the "Configuration" section on the left nav bar, from there head to "General settings", and check that the "Startup Command" field has been populated with the command that you just provided.

That's all! From here you should be able to access your app from the URL provided in the Overview section. If you want to make doubly sure, you can click the Restart button in the Overview section before heading to your app.